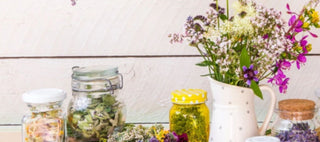
Ever wish your fresh flowers could last forever? Good news—they can! Say goodbye to the sadness of wilting flowers and hello to fun keepsakes! Drying flowers is such a great way to keep your favorite blooms around—especially when you’ve received a bouquet with sentimental value. Don’t let it go to waste! With a few fun techniques, you can preserve the beauty and turn your flowers into something that holds meaning for much longer. Check out our guide for an easy step-by-step process that helps your blooms live on as cherished memories.
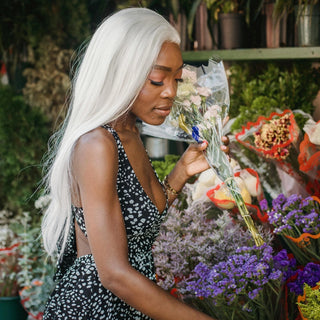
Step 1: Choosing the Right Flowers
Selecting the right blooms is key. While nearly any flower can be dried, some maintain their shape and color better than others over time. Here are a few top picks to start with:
❊ Roses
❊ Sunflowers
❊ Hydrangeas
❊ Baby’s Breath
❊ Lavender
❊ Statice
❊ Celosia
These blooms hold up well during the drying process and are perfect for creating stunning dried arrangements.
Step 2: Prepping your Flowers
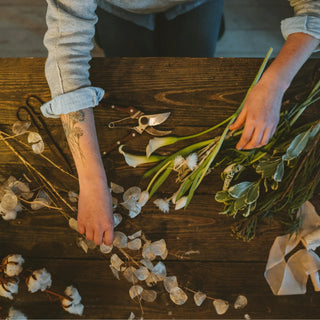
Trim your flowers and leaves based on the look you're going for. You can either cut the blooms just below the flower head or keep the stems attached for a longer arrangement, trimming them down if needed. As for the leaves, you have the option to leave them on the stem or remove and dry them separately—it all depends on your vision for the final display. Adjust everything to fit your preferred style and arrangement.
Trim your flowers and leaves based on the look you're going for.
Step 3: Prepping for the Drying Process
Now for the fun part! There are a few different methods you can use to dry your flowers, each with its own perks.
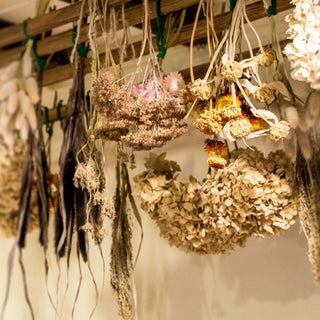
Air Drying
The easiest and most popular method. Gather small bunches of flowers, remove excess foliage, and hang them upside down in a cool, dry space. Keep them out of direct sunlight to help preserve their color. In about two to three weeks, your flowers will be fully dried and ready to display!
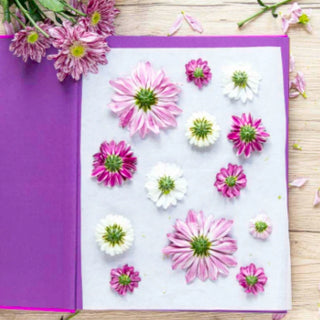
Pressing Flowers
If you’re a fan of pressed flowers for art or craft projects, this method is for you. Simply place your blooms between sheets of parchment paper and press them under heavy books. Leave them for a couple of weeks, and you’ll have delicate, flat flowers to use in creative projects like bookmarks or framed wall art.
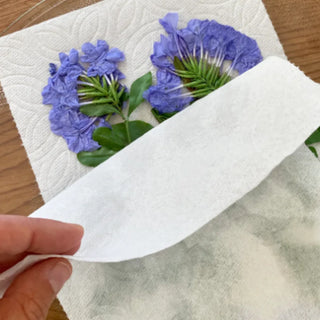
Microwave Drying
For a quick and efficient way to dry flowers, the microwave is your best bet—but handle with care. Start by placing a paper towel on a microwave-safe plate and arranging the flowers on top. Cover them with another paper towel and microwave on high temperature. To ensure that the flowers don’t get roasted, give it a 30-second interval to check if the flowers are completely dry. This process should take 1 to 3 minutes, depending on the type of flower and the strength of your microwave.
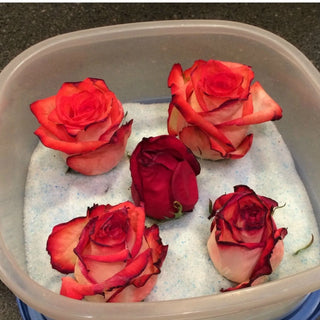
Silica Gel Drying
For those wanting to preserve the full shape and vibrant color of their flowers, silica gel is a great option. Cover your flowers completely in the gel, and after a few days, they’ll be perfectly preserved. This method works particularly well for roses and carnations.
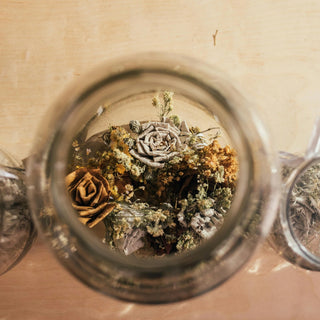
Step 4: Storing Your Dried Flowers
Once your flowers are perfectly dried, they still need a little TLC. Keep them out of direct sunlight and humidity to ensure they last longer. You can also keep them in an airtight container to protect them from moisture and pests. This will help them stay looking vibrant for as long as possible.
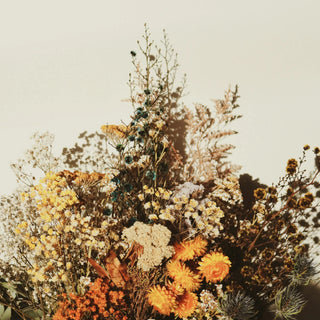
Step 5: Displaying Your Dried Flowers
From DIY home décor to handmade gifts, dried flowers open up endless possibilities. Here are a few ideas to inspire you:
❊ Create a Bouquet: Tie several dried stems together and display them in a vase or jar for a stunning natural centerpiece.
❊ DIY Wreaths: Incorporate your dried flowers into a wreath for a rustic, handmade decoration that adds charm to any space.
❊ Decorate Picture Frames: Add a pop of color to your photo displays by gluing dried flowers around the edges of your frames.
❊ Make Potpourri: Mix dried flowers with your favorite spices and essential oils to craft your own fragrant potpourri. Display it in bowls or sachets around the house.
❊ Create Bookmarks or Greeting Cards: Personalize your next gift by adding pressed dried flowers to bookmarks or greeting cards—it's a thoughtful touch that goes a long way.
We’re all about helping you make the most of your floral journey. Whether you’re arranging fresh blooms or experimenting with dried ones, we enjoy seeing your unique creations come to life. Drying flowers is an effortless way to enjoy nature’s beauty all year round, and we can’t wait to see what you come up with. Share your dried floral projects with us on social media and tag us using #PostalPetals—maybe we’ll feature your work!
